
Everyone knows how to paint their nails...but I got so many nice compliments on my nails in my this post, I thought it'd be cool to show the process of OPI's Shatter. This definitely seems overly obvious, but enjoy anyway!
What you'll need:
+ a base coat {seche clear}
+ a base color {bonita nail enamel in yellow}
+ OPI Shatter
+ a top coat {sally hansen dry instantly}

+ Start with clean nails - I have the worst cuticles, so I use Sally Hansen's Instant Cuticle Remover to help push them down & cut them (I KNOW it's not good for you to cut your cuticles...I can't help it!)
+ Apply a base coat - I never used to use a base coat before but I really notice the difference in the color application by using it - it also has allowed the color to stay on longer.

+ Apply two (2) coats of a base color

+ The trick is to allow the base coat to completely dry before applying Shatter
+ Then apply one coat of Shatter - it should be relatively thick to cover the nail in a couple of strokes.
+ Be warned: this stuff dries fast! Apply a single black layer & within seconds it starts to dry & crack. To give you a sense of how quick it dries, by the time I finished painting my ring finger, my pinky finger was already dry.

+ Allow a few minutes to dry (doesn't take very long)
+ Apply a top coat

And you're done! Oh! To clean up any mistakes, I simply dip an old concealer brush into some acetone and brush along the sides. Very easy & super effective - much better than using a q-tip that can leave cotton strands behind.
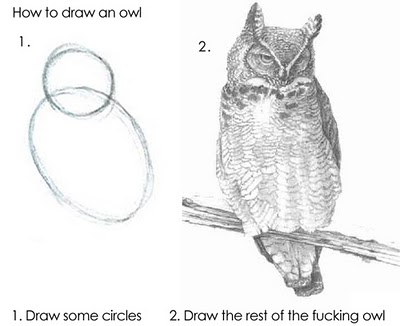
Now draw the rest of that fucking owl.


oohh very cool! i'm seen lots of reviews for the OPI shatter but i'm liking this super bright yellow under =) looks great!
ReplyDeleteHA, I love that owl. I've been on the fence about the shatter trend. But your black and yellow (cue the song) nails look pretty cool. And I totally cut my cuticles...I can't help it!
ReplyDeleteThat shatter nail polish is so cool. I'm always impressed whenever i see it!
ReplyDeleteGlad you didn't do an OPI shatter tutorial on toenails. That reminds me of....Frankenstein. Or vitamin deficiencies.
hahha awesome! I'm pretty sure I'll be drawing an owl in no time.
ReplyDeleteI've seen so many people with the Shatter nail polish, I think it looks really cool but I just wish they would come out with a color other than black (wait, do they? I don't know) OK. I just googled it. I was wrong. They DO come in other colors. I must get on it then. :)
I agree, black is too goth for me! How about a nice... pink? haha
ReplyDeleteBtw I rate this post as awesome simply for the owl picture at the top. I've always felt that way about drawing tutorials.
Hahah about the owl!!!
ReplyDeleteANd I lovee these nails! Very unique!
omg, thanks for this post!!! i'm a nail freak if you didn't know;) i've never heard of OPI's Shatter!!! Must look into it!!! Love your nails and the yellow contrast against the black is awesome:D
ReplyDeleteCinz
http://cinzee.wordpress.com